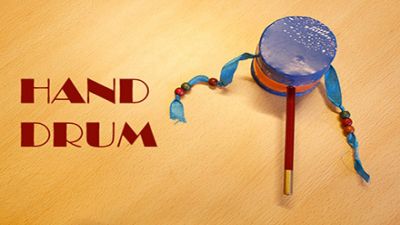
Let’s make some music! Learn how to make your very own hand drum with simple materials
In this DIY activity, learn how to make your very own hand drum with very simple materials!
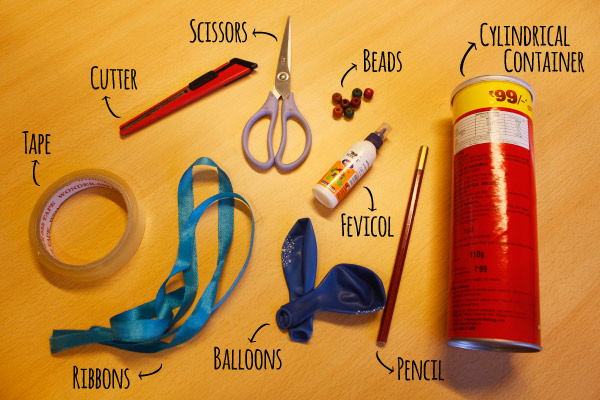
Things you will need:
Step 1:
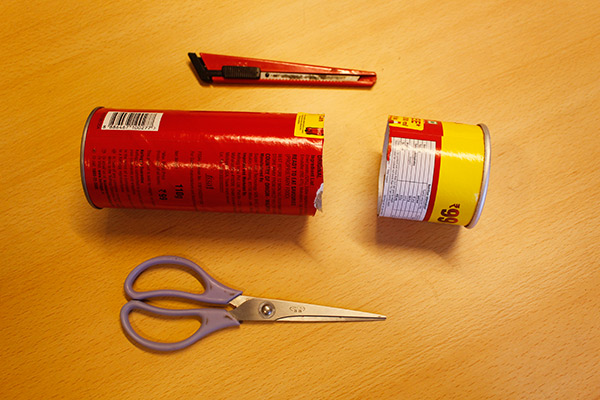
Using a cutter and a pair of scissors, carefully cut the cylindrical container such that the cut piece is approximately 6 to 7 cm in height.
Step 2 (Optional):
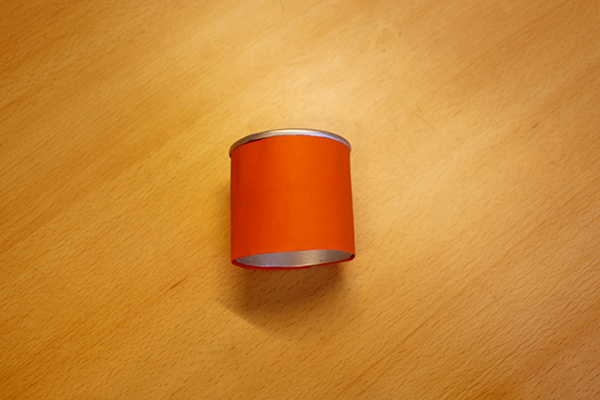
Using colour paper, cover the cut piece to give it a vibrant look.
Step 3:
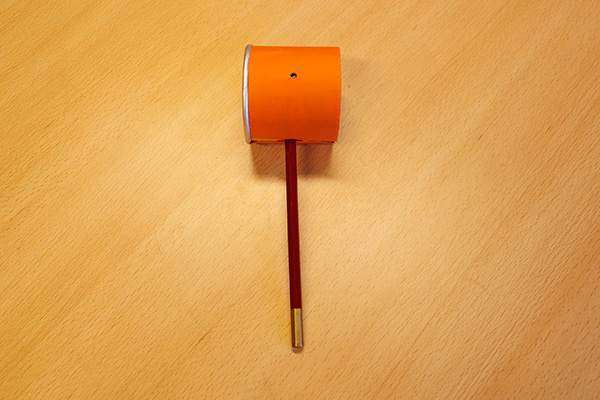
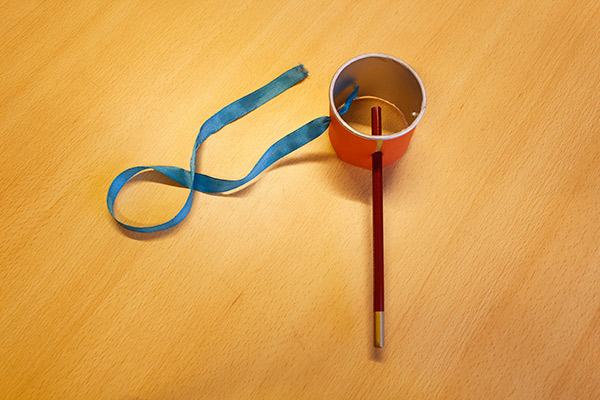
Poke a hole through the centre* of any side of the cylindrical cut piece. Insert a pencil in the hole, in such a way that it looks like this.
*It is very important that the hole be made in the centre of the cut piece because it will ensure proper rotation of the hand drum.

Step 4:
Poke two holes on the cut piece in such a way that an imaginary line joining the holes is perpendicular to the pencil. Refer to the image to understand where to poke the holes.
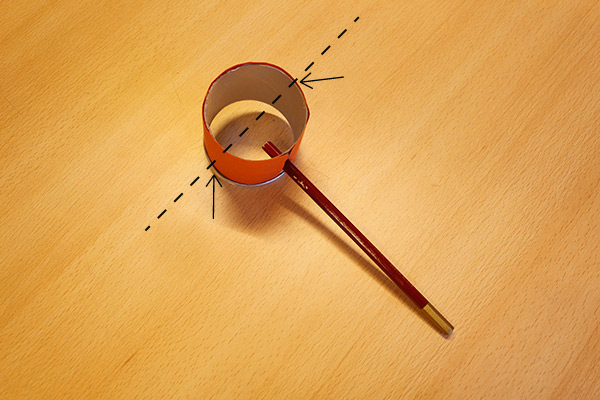
The holes must be poked through the centre of the cut piece like this.
Step 5:
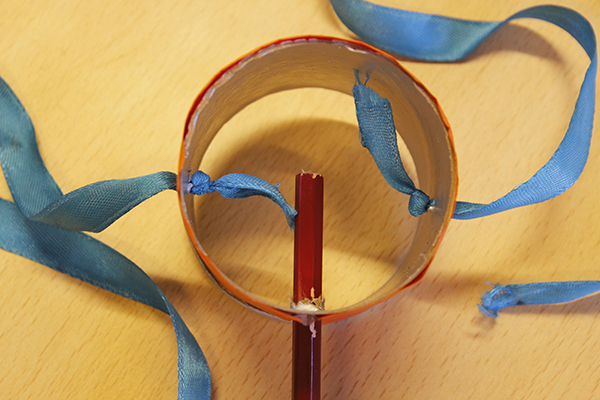
Insert a ribbon through one hole, and knot the end that is on the inside of the cylinder. Repeat the same for the other hole.
Refer to the following image to understand how to knot the ribbons.
Step 6:
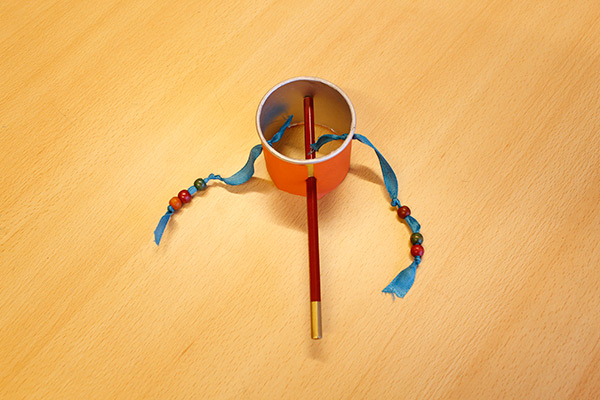
Slip a few beads on to one of the ribbons. When you stretch the ribbon across the open side of the cylinder, make sure that the beads can reach the centre. Knot the open end of the ribbon to ensure that the beads do not slip out.
Step 7:
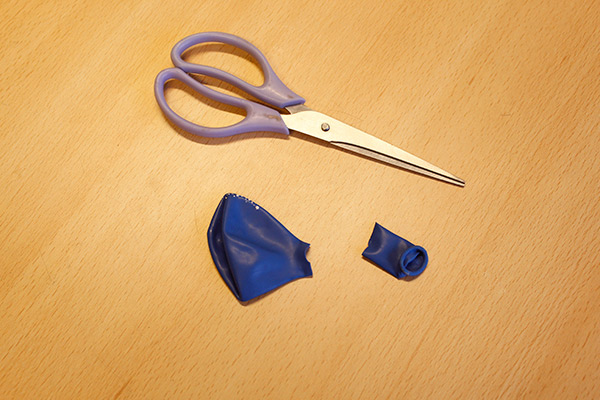
Take a pair of scissors and cut off the neck of a balloon. Refer to the image to understand how to cut the balloon. Do the same for the second balloon.
Step 8:
Now, take the top part of the balloon and stretch it over the open side of the cylinder, such that it looks like this.

Step 9:
Now secure the balloons with tape.

Step 10:
Your hand drum is ready!
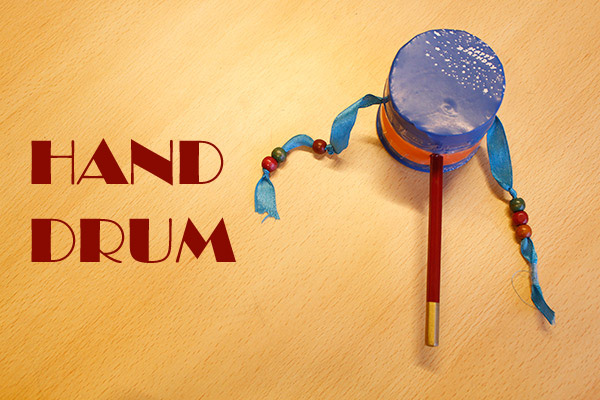
Now turn the pencil to make music with your new hand drum!
Try this out at home! Make sure to use the equipment, especially the cutter and scissors, in the presence of an adult.


